Cyanogen with a broken screen
Yada, yada, yada, and I had an LG Nexus with a broken screen with me which I didn’t have any use for. Besides, the screen was broken and, though everything else seemed to work, it wasn’t possible to even unlock it by drawing a pattern on the screen.
However, that was a perfectly good screen I could use for displaying, say, the time and a perfectly good microphone and speaker there I could use for “OK Google” voice searches.
I decided to take this on as a challenge for the weekend and I’ve decided to write this guide to document what did, and what didn’t, work.
Problem setup
- LG Nexus 4 phone with a non-responsive screen
- Already rooted, with the ClockworkMod bootloader
- Wiped clean and ready for a fresh installation
- Android SDK (version 1.0.32) setup on my Mac OSX.
- Bluetooth keyboard and Trackpad
Nexus 4 does not allow connecting a keyboard or a mouse through the Micro USB port. Hence, I couldn’t just connect a mouse using an USB-OTG adapter and start clicking around the screen.
Booting into recovery mode
I did this a lot, so I’ll explain upfront what I mean by it:
- Press Power button + Volume down to boot into ClockworkMod bootloader
- Used the volume keys to move down to
Recovery modeand booted in. - (Optionally) Go to
mount and storageoption and mount/systemand/data - Go to
install from zipoption and selectinstall by sideloading
Installing Cyanogen-mod
I tried installing the latest version of Cyanogen (i.e. version 13) on the device first.
I downloaded the zip from the official repository and then while the phone was in recovery mode and awaiting installation by side-loading, I went to the terminal:
adb sideload ~/Downloads/cm-13.0-20160429-SNAPSHOT-ZNH0EAO2YJ-mako.zipThe installation went smoothly, but then as soon as I started the phone in normal mode, it shut itself down after about 5 seconds on the setup screen.
At first, I thought that it was a hardware issue. Perhaps the screen was broken in such a way that it pressed the power button? But the phone didn’t shut-down in recovery mode. Hence, it had to be something else.
There were a few posts on the Internet with similar symptoms, but nothing which targeted the exact problem that I had.
I tried to move down a version of Android and that did the trick. I rebooted into recovery and then installed the last version of Cyanogen instead:
adb sideload ~/Downloads/cm-12.1-20151007-SNAPSHOT-YOG4PAO334-mako.zipThis version didn’t restart on reboot and I didn’t investigate what was the problem with the newer version; I was picking my battles.
I had breached enemy lines.
Enabling debugging mode
So I had an Android phone which was staring at me with an enthusiastic message from the Cyanogen team, but I couldn’t do anything yet: the screen was still unresponsive.
There are ways of controlling the phone from the adb shell, but they require debugging to be enabled. It was not enabled by default on the Cyanogen ROM. Hence, running adb devices didn’t list the attached phone.
There are a lot of posts on the Internet describing how to enable debugging mode.
Some of them require editing a SQLite database (i.e. settings.db) and some required editing .prop files (i.e. /system/build.prop and/or /defaults.prop).
adb shell
echo "persist.service.adb.enable=1" >> default.prop
echo "persist.service.debuggable=1" >> default.prop
echo "persist.sys.usb.config=mtp,adb" >> default.prop
echo "persist.service.adb.enable=1" >> /system/build.prop
echo "persist.service.debuggable=1" >> /system/build.prop
echo "persist.sys.usb.config=mtp,adb" >> /system/build.prop
There are some suggestions to use setprop program to set those properties too.
Editing settings.db in /data/data/com.android.providers.settings/databases/:
update secure set value=5037 where name='adb_port';
update global set value=1 where name='adb_enabled';
-- etc.
These are the things which didn’t work for me:
- Any form of editing of
settings.db. It simply kept the phone from booting properly (it stayed on the booting animation). Fixing the issue required a fresh installation each time. I tried several variations of the editing process: keeping thejournalfile, removing thejournalfile, with correct permissions, with777permissions, with correct ownership, etc. - Changing the
build.propalone didn’t have any effect either: the phone booted but it did not show up upon runningadb devices. - I tried chancing the
build.propincm-12.1-20151007-SNAPSHOT-YOG4PAO334-mako.zip/system/build.prop, repackaged theziparchive and tried a fresh install but that didn’t make the device debuggable either. - Running
setprop(andgetpropto verify) instead of editing the files manually.
Finally, what worked was editing both the /system/build.prop and /defaults.porp. I didn’t check whether editing only default.prop would have been sufficient.
So now the device showed up when I ran adb devices.
I’ve burst open a door to the palace.
Authorizing USB debugging
However, adb shell complained that the device needed to authorize the connection. I saw the popup on the screen, but I couldn’t just tap to accept it.
Hence, I rebooted into recovery, mounted the /data partition, and then followed the instructions here:
adb push ~/.android/adbkey.pub /data/misc/adb/adb_keysThen rebooting into Normal mode allowed adb to connect to the device without the authorization popup.
I’ve found the way to the keep.
Bluetooth
The battle was half-way won. I could control the device using adb keyevent <keycode>, adb tap <x> <y>, and adb swipe <x1> <y1> <x2> <x2>. I tried to turn on Bluetooth that way and it was painful.
Here, I took help of the Internet again and used Android Screencast to control the device. I had to allow that Java program loaded from the Internet to work on my machine, though.
After I had the screen-cast working, turning on Bluetooth and pairing it with my Keyboard and Trackpad was a breeze.
The keep has been breached!
OK Google
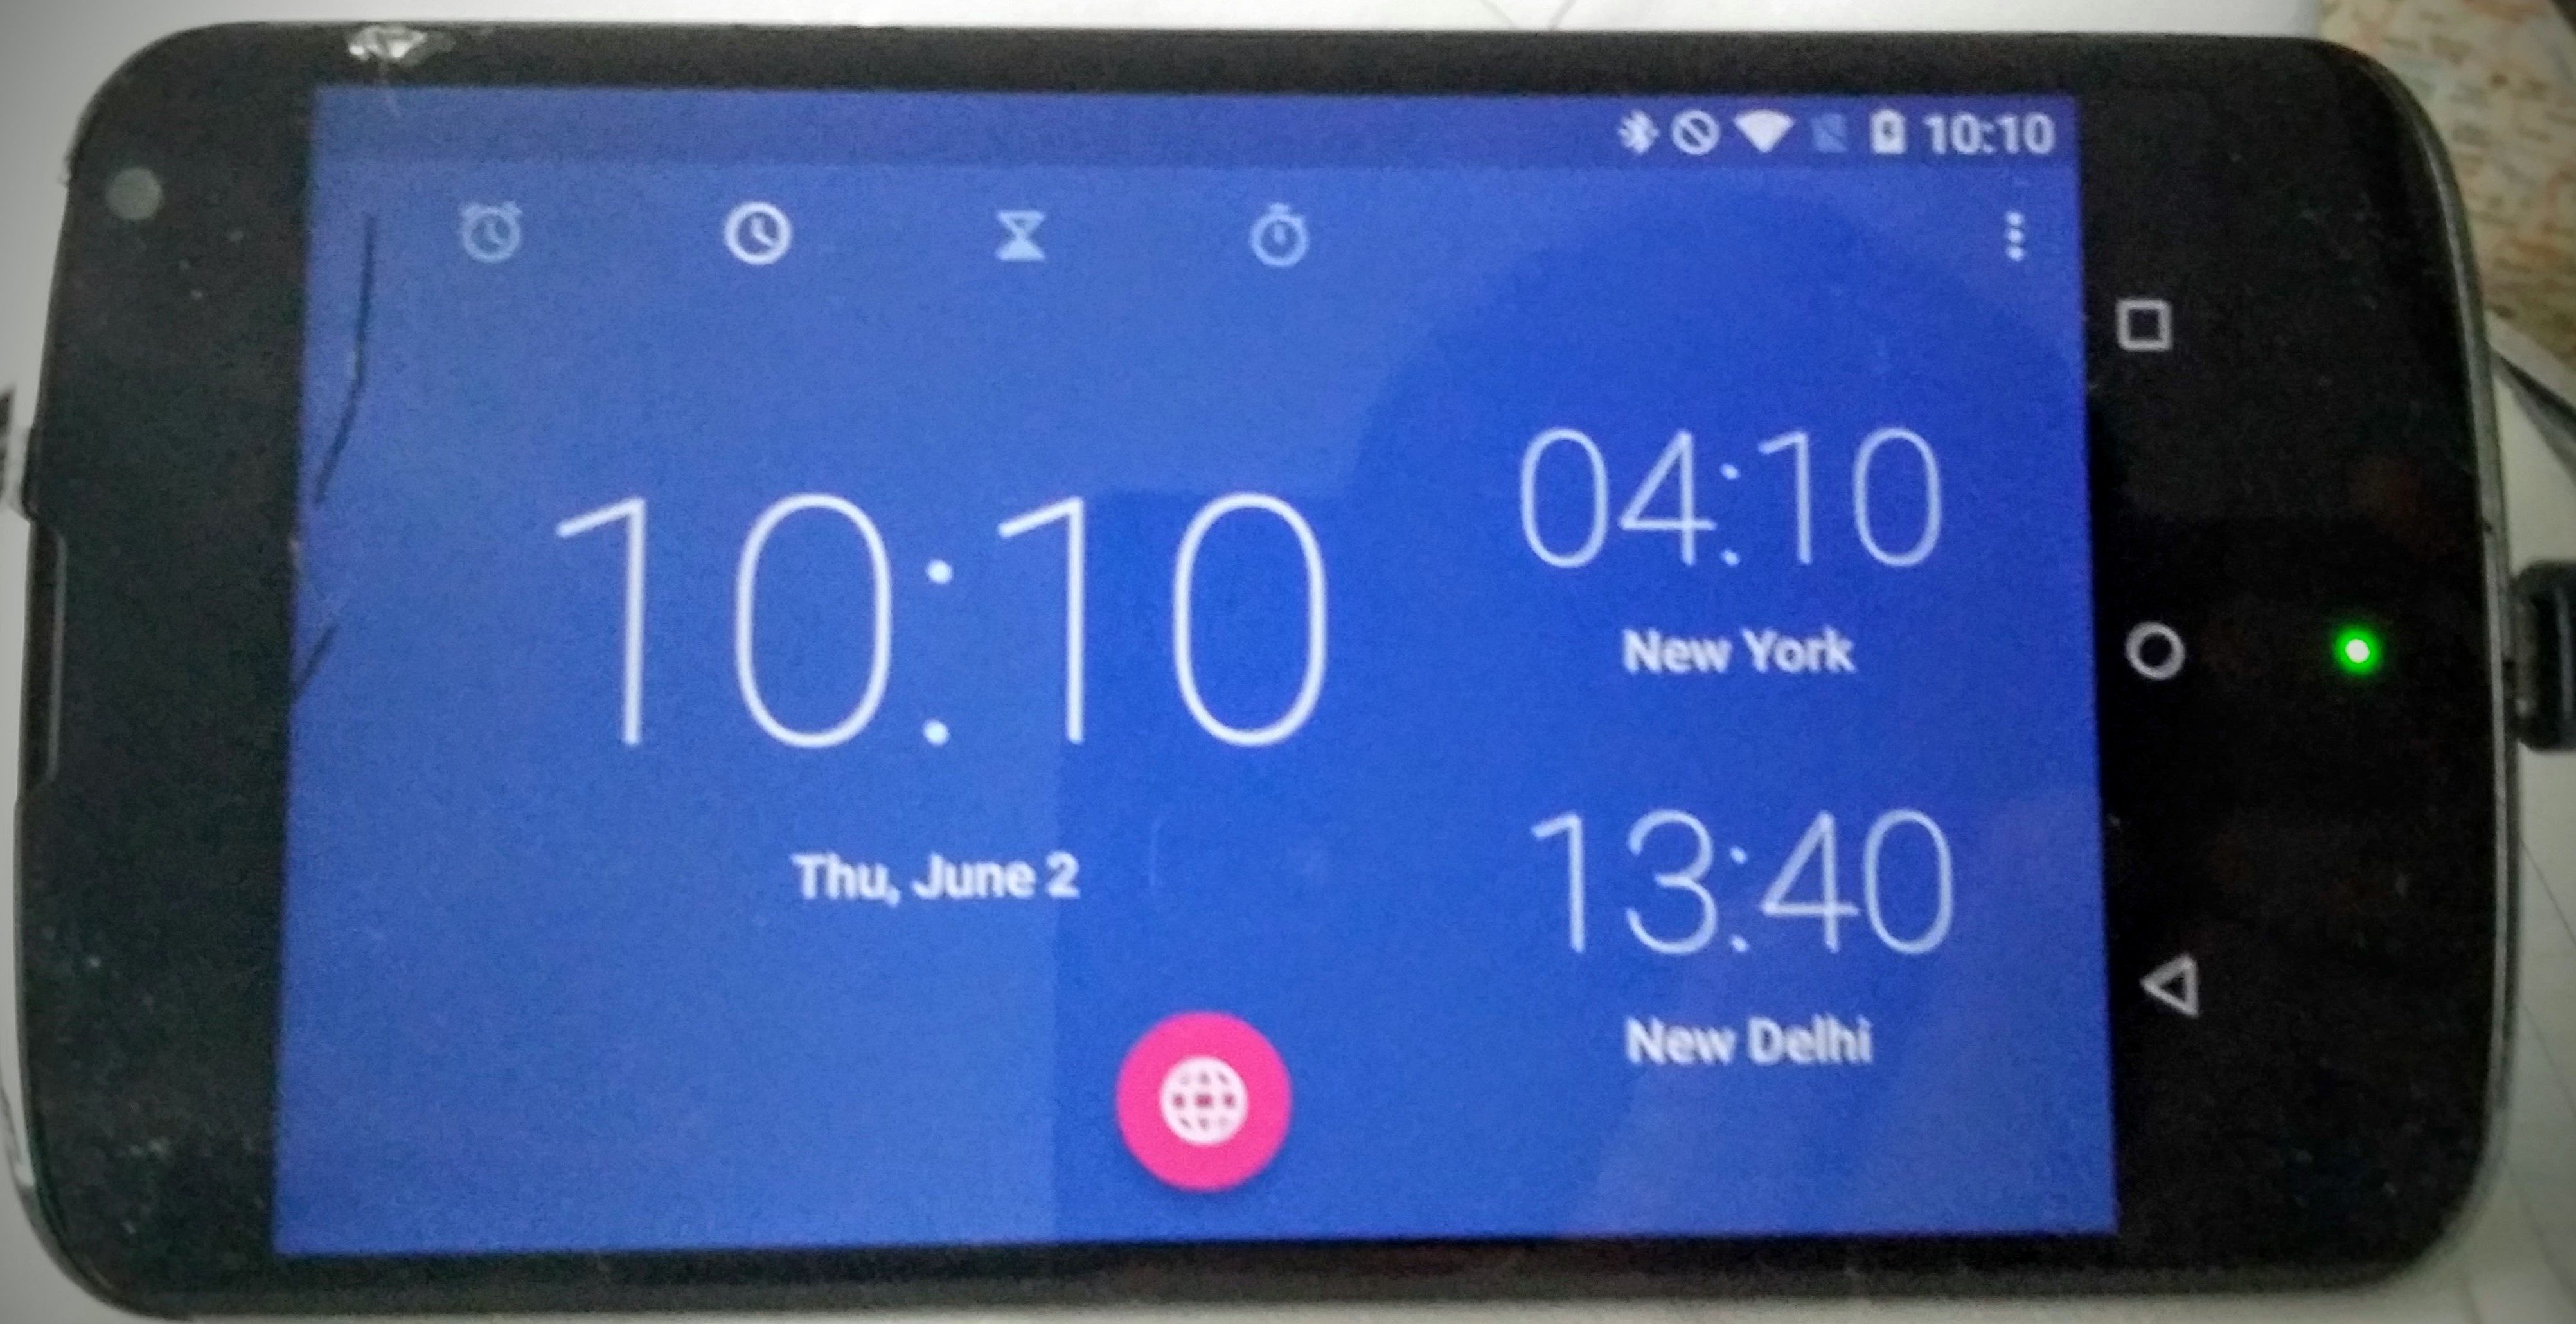
Now I could already use the phone as a wall-clock by using the Clock app. I turned on development mode on the phone and stopped it from turning of the screen while charging and kept it attached to a spare charger forever. I also removed the Lock screen completely.
Now to get OK Google to work, I had to install Google Apps on it. So back to Recovery Mode went the phone.
I downloaded Google Apps (ARM versions) and sideloaded it into the phone. I restarted in normal mode, updated Google services, downloaded all dependencies and enabled “OK Google” recognition at all screens.
Now I could wake up in the morning and shout at my phone “OK Google, what is the weather like today?” and it would promptly tell me that it was overcast and rainy. :)
The Royal family has been captured and sent into exile.